axios拦截器实现原理
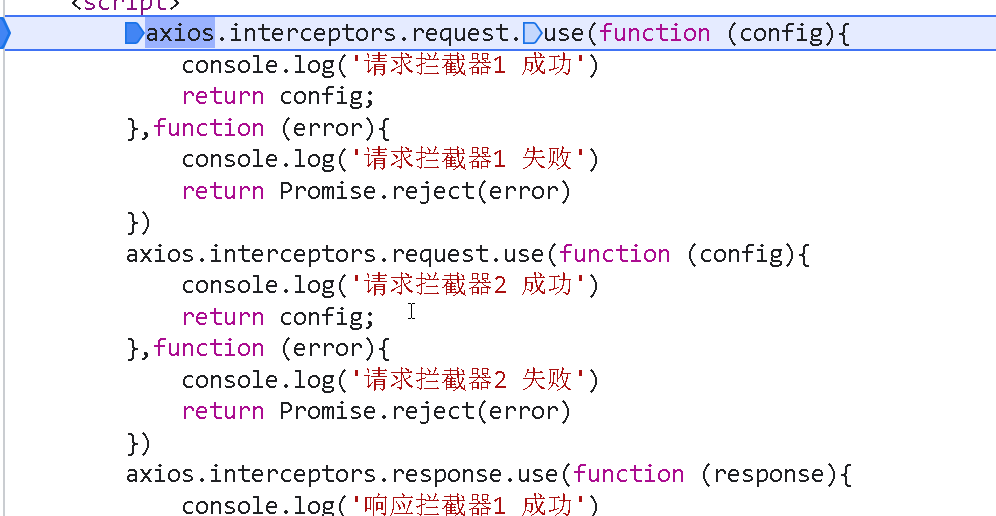
先用拦截器实现下面这个案例:
1
2
3
4
5
6
7
8
9
10
11
12
13
14
15
16
17
18
19
20
21
22
23
24
25
26
27
28
29
30
31
32
33
34
35
36
37
38
39
40
41
42
43
44
45
46
47
48
49
50
51
52
53
54
| <!DOCTYPE html>
<html lang="en">
<head>
<meta charset="UTF-8">
<meta http-equiv="X-UA-Compatible" content="IE=edge">
<meta name="viewport" content="width=device-width, initial-scale=1.0">
<title>Document</title>
<script src="https://cdn.bootcdn.net/ajax/libs/axios/0.27.2/axios.js"></script>
<style>
</style>
</head>
<body>
<script>
axios.interceptors.request.use(function (config){
console.log('请求拦截器1 成功')
return config;
},function (error){
console.log('请求拦截器1 失败')
return Promise.reject(error)
})
axios.interceptors.request.use(function (config){
console.log('请求拦截器2 成功')
return config;
},function (error){
console.log('请求拦截器2 失败')
return Promise.reject(error)
})
axios.interceptors.response.use(function (response){
console.log('响应拦截器1 成功')
return response;
},function (error){
console.log('响应拦截器1 失败')
return Promise.reject(error)
})
axios.interceptors.response.use(function (response){
console.log('响应拦截器2 成功')
return response;
},function (error){
console.log('响应拦截器2 失败')
return Promise.reject(error)
})
axios({
method: "GET",
url:"http://localhost:3000/posts"
}).then(response => {
console.log(response)
}).catch(err => {
console.log(err)
})
</script>
</body>
</html>
|
如果一切正常的话, 它的打印结果应该是这样的:

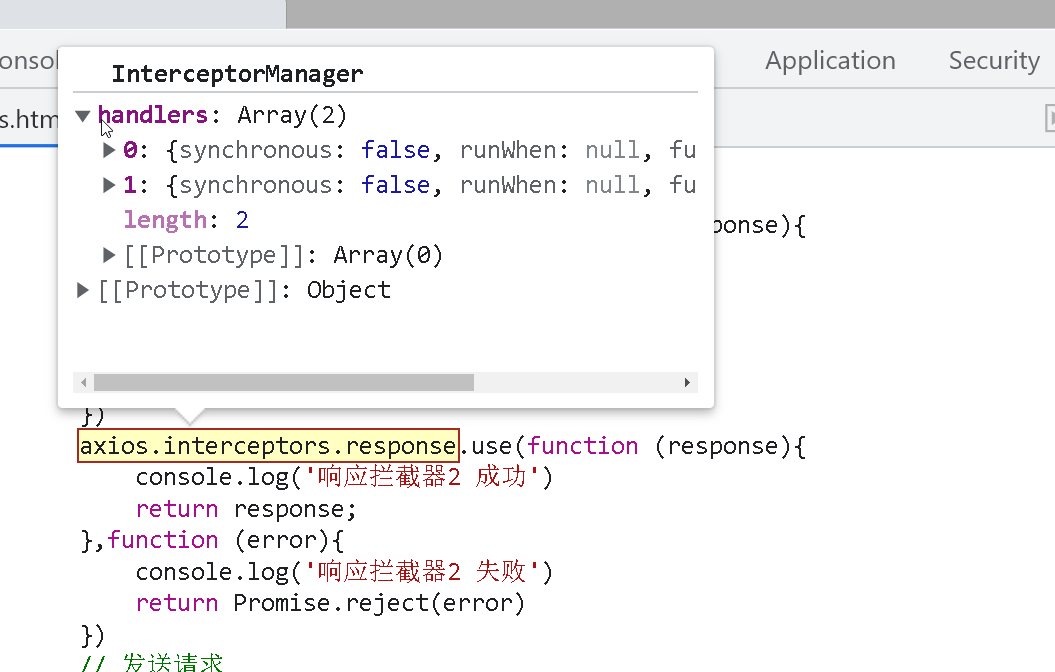
我们来解释一下这个axios上面的interceptors是哪里来的,我们打开Axios.js文件, 如图
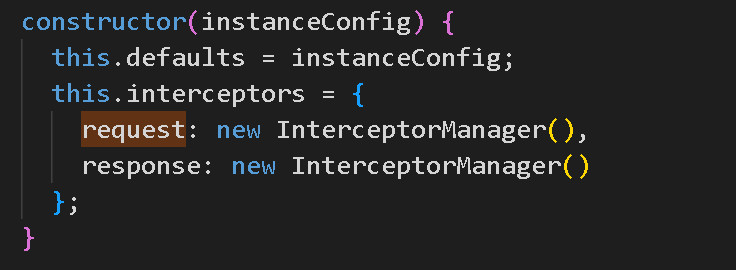
因为里面有this.interceptors来进行构造,里面又有一个request对象,所以:、
axios.interceptors.request = new InterceptorManager ()
而axios.interceptoes.request.use = new InterceptorManager().use()
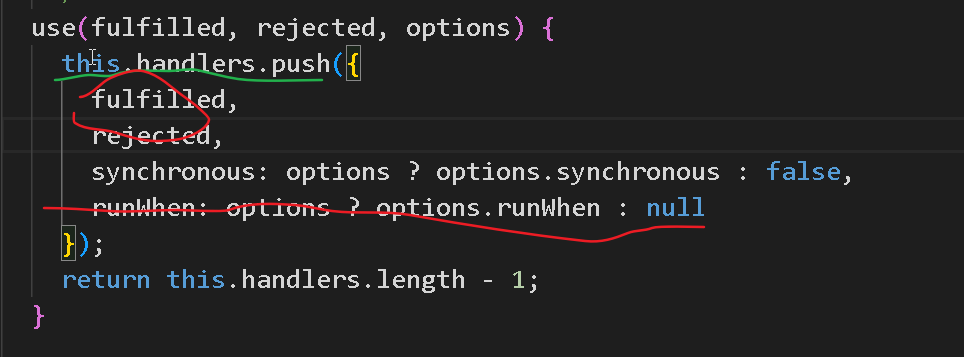
接着, 我们来到了这里
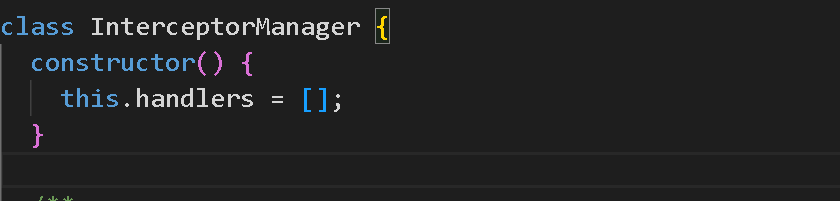
这里的this.hanlders是当你new InterceptorManager()的时候创建的一个空数组:
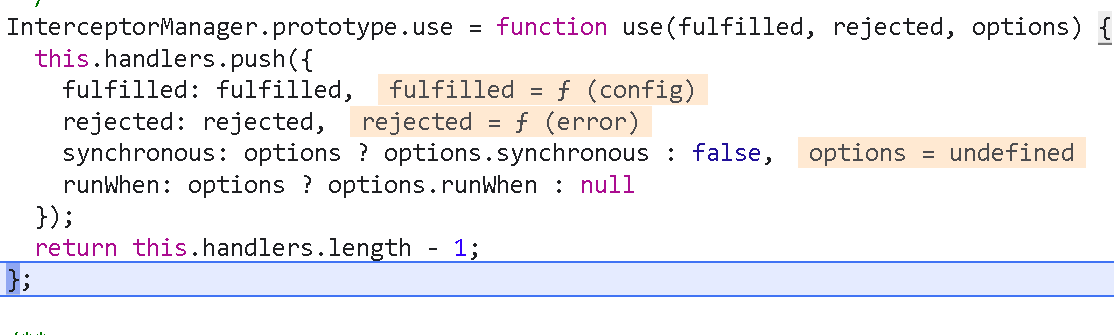
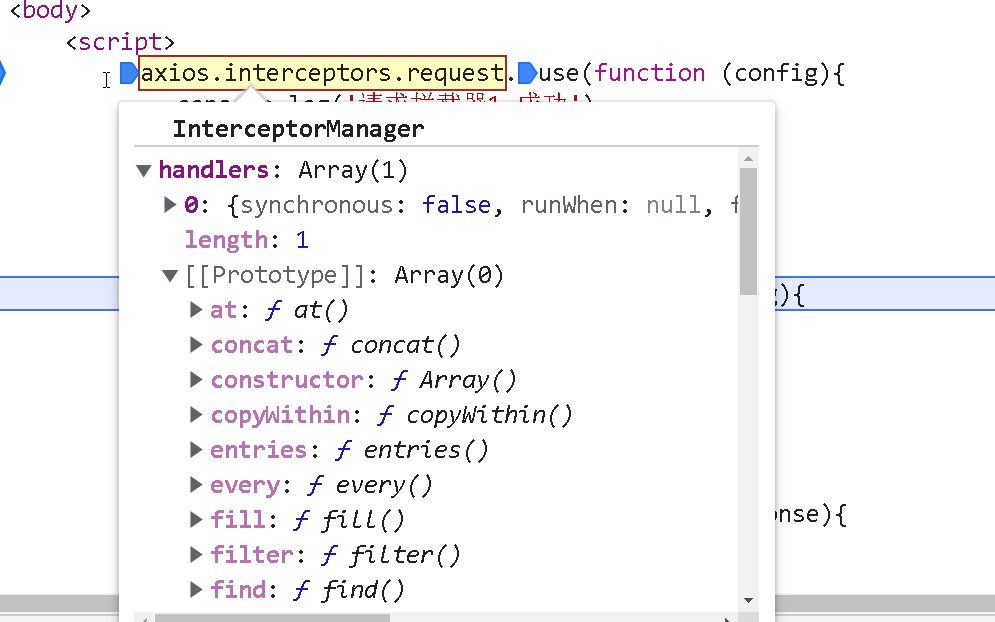
然后你调用上面的use方法的时候:就给this.handlers上面push了一些东西:
接着往下执行, 你会看到:
此时。halders上面已经有数据了,当执行到第二个拦截器的时候:
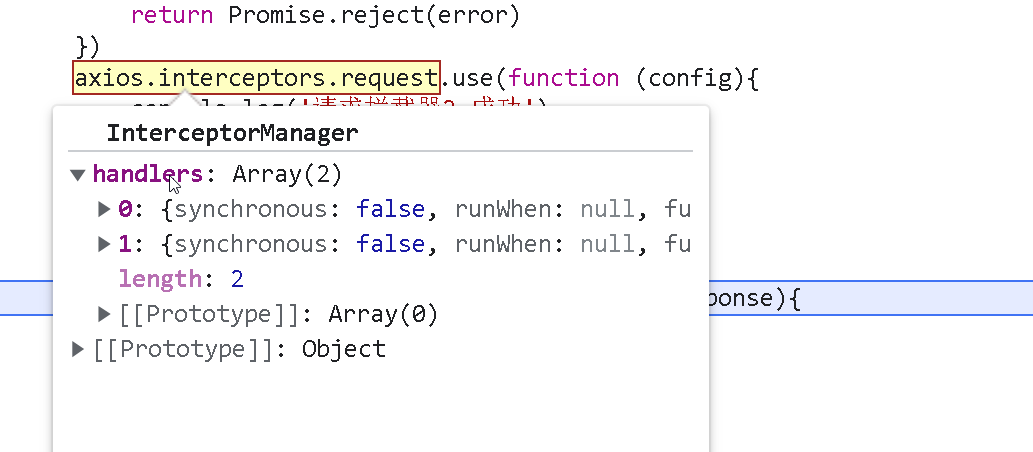
handlers又变了,接着往下执行:
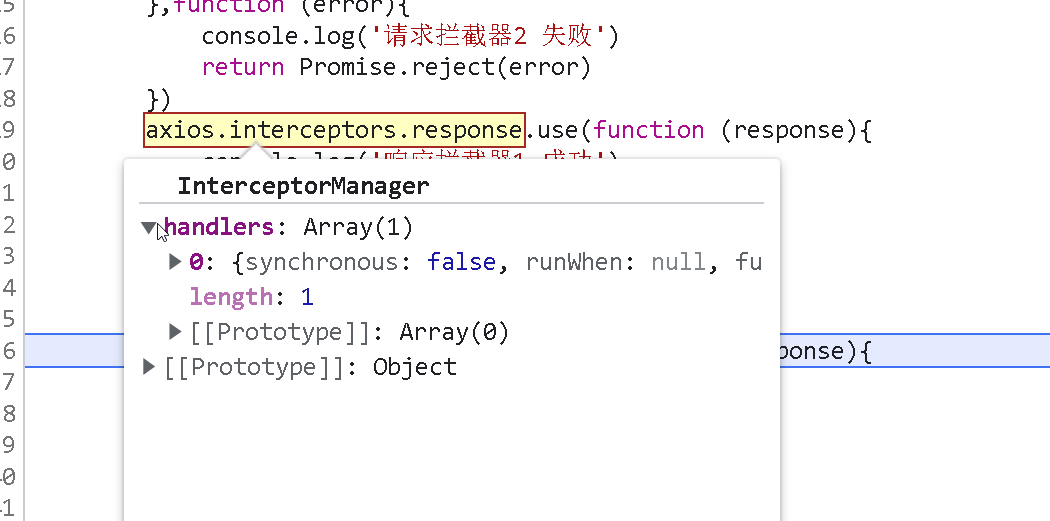
这是响应拦截器添加的回调,同理:
和请求拦截器是同样的原理。
为什么请求拦截器顺序是倒着的, 也就是如图所示这个样子?
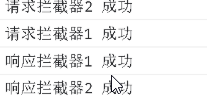
原因就是 在请求拦截器中, requestInterceptorChain使用了unshift方法, 而在响应拦截器中使用了push方法
use在使用的时候只是进行了一个保存, 就是把回调保存在了request.handlers上面
以上就是拦截器的工作原理