coder-Tom

一个喜欢代码, 音乐,读书, 跑步, 记录生活的程序员

0%

用css打开《清明上河图》

用css打开《清明上河图》

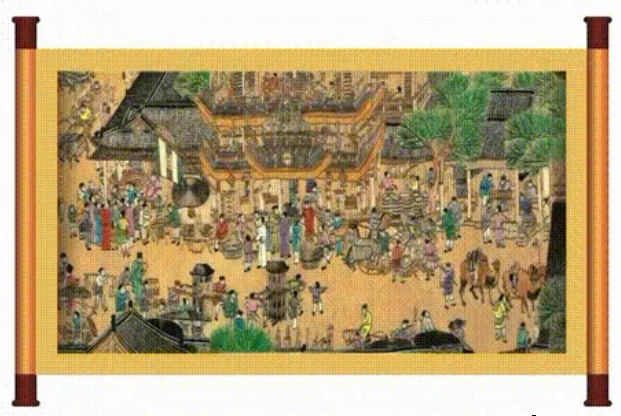
先看效果图:

image-20221009171254436

代码实现:

骨架:

1
2
3
4
5
6
7
8
9
10
11
12
13
14
15
16
17
18
19
20
21
22
23
<body>
<div class="container">
<div class="leftReelWrapper">
<div class="leftTopHandleBorder"></div>
<div class="leftTopHandle"></div>
<div class="leftTopReel"></div>
<div class="leftBottomHandle"></div>
<div class="leftBottomHandleBorder"></div>
</div>

<div class="content">
<img class="pic" src='./qingming_content.png' width="469px" height="261px" />
</div>

<div class="rightReelWrapper">
<div class="rightTopHandleBorder"></div>
<div class="rightTopHandle"></div>
<div class="rightReel"></div>
<div class="rightBottomHandle"></div>
<div class="rightBottomHandleBorder"></div>
</div>
</div>
</body>

画轴:

添加css代码:

1
2
3
4
5
6
7
8
9
10
11
12
13
14
15
16
17
18
19
20
21
22
23
24
25
26
27
28
29
30
31
32
33
34
35
36
37
38
39
40
41
42
<style type="text/css">
body {
background: #888;
}

.container {
margin: 0 auto;
width: 800px;
height: 500px;
background: #fff;
position: relative;
margin-top: 100px;
}

.leftReelWrapper {
position: absolute;
left: 50px;
top: 50%;
margin-top: -180px;
}

.leftTopReel{
width: 20px;
height: 300px;
margin-left: 3px;
background: linear-gradient(90deg, #884433, #FBBC62, #CC5F3D);
}

.leftTopHandle, .leftBottomHandle{
width: 20px;
height: 24px;
margin-left: 3px;
background: linear-gradient(90deg, #411C1D, #832C29, #411C1D);
}
/*轴上柄的末端小边*/
.leftTopHandleBorder, .leftBottomHandleBorder {
width: 26px;
height: 6px;
border-radius: 6px;
background: linear-gradient(90deg, #411C1D, #832C29, #411C1D);
}
</style>

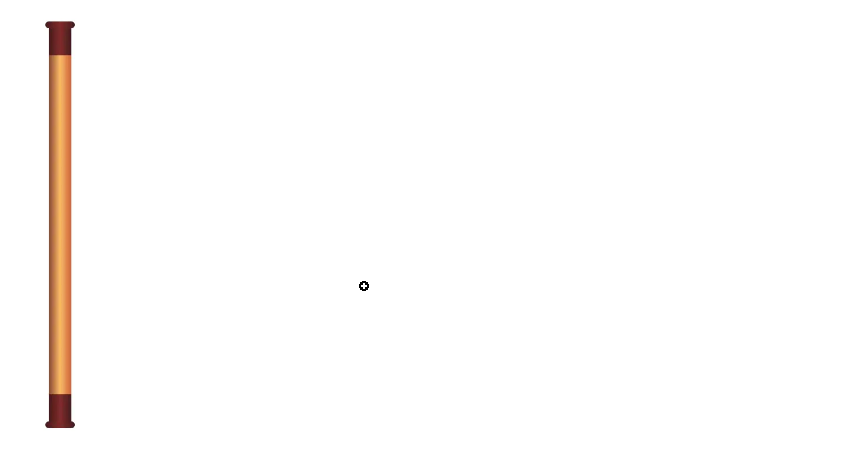
效果图:

image-20221009171455394

接着画另外一根:

1
2
3
4
5
6
7
8
9
10
11
12
13
14
15
16
17
18
19
20
21
22
23
24
25
26
27
28
29
30
31
32
33
34
35
36
37
38
39
40
41
42
43
44
45
46
47
48
49
50
51
52
53
54
<style type="text/css">
body {
background: #888;
}

.container {
margin: 0 auto;
width: 800px;
height: 500px;
background: #fff;
position: relative;
margin-top: 100px;
}

.leftReelWrapper {
position: absolute;
left: 50px;
top: 50%;
margin-top: -180px;
}

/*右轴定位*/
.rightReelWrapper {
position: absolute;
left: 76px;
top: 50%;
margin-top: -180px;
}

/*添加类名 .rightReel*/
.leftTopReel, .rightReel {
width: 20px;
height: 300px;
margin-left: 3px;
background: linear-gradient(90deg, #884433, #FBBC62, #CC5F3D);
}

/*添加类名 .rightTopHandle .rightBottomHandle*/
.leftTopHandle, .leftBottomHandle, .rightTopHandle, .rightBottomHandle {
width: 20px;
height: 24px;
margin-left: 3px;
background: linear-gradient(90deg, #411C1D, #832C29, #411C1D);
}

/*轴上柄的末端小边*/
/*添加类名 .rightTopHandleBorder, .rightBottomHandleBorder*/
.leftTopHandleBorder, .leftBottomHandleBorder, .rightTopHandleBorder, .rightBottomHandleBorder {
width: 26px;
height: 6px;
border-radius: 6px;
background: linear-gradient(90deg, #411C1D, #832C29, #411C1D);
}
</style>

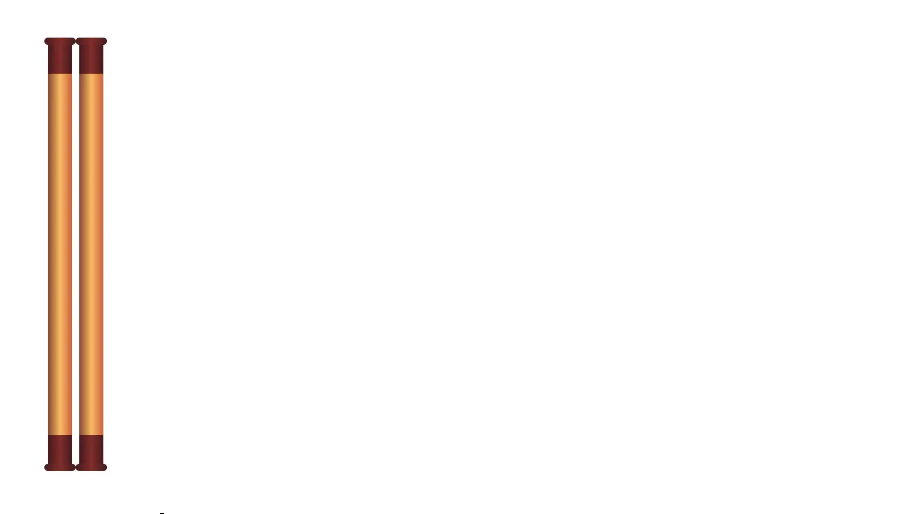
两根画好之后:

image-20221009171601463

展开:

展开分两部分,一个是右轴的水平移动,一个是画布内容展开。

右轴移动:

1
2
3
4
5
6
7
8
9
10
11
12
@keyframes moveReel {
to {
transform: translateX(500px);
}
}

/*右轴定位*/
.rightReelWrapper {
...
// 加上这行
animation: moveReel 5s linear 3s forwards;
}

然后添加下面的css代码:

1
2
3
4
5
6
7
8
9
10
11
12
13
14
15
16
17
18
19
20
21
@keyframes expandPainting {
to {
width: 468px;
border: 20px solid #E05717;
}
}

.content {
position: absolute;
/*这里使用border作为内容画布的边框,两轴静止的时候填充到中间细缝,没有设 background, 也方便直接在content里放图片,达到一种透视效果*/
border-left: 20px solid #E05717;
border-top: 20px solid #E05717;
border-bottom: 20px solid #E05717;
width: 6px;
height: 261px;
left: 72px;
top: 56%;
margin-top: -180px;
/*这里添加动画*/
animation: expandPainting 5s linear 3s forwards;
}

放图:

记得加

overflow: hidden

image-20221009171832686

文章参考链接:(https://developer.mozilla.org/zh-CN/docs/Web/CSS/@keyframes)(https://juejin.cn/post/7145798378247421960)